
This might have been the spark that ignited my quest to build another minibike. Excitement grew the more I reminisced about building that two wheeled wonder with my father some fifty years ago. That first minibike we built was a far cry from the minibike project you'll see pictured below.
My father begrudgingly let me use my Sting-ray bike as a donor frame when I was around eleven years old. I nearly had the center bar hacksawed out the next day with no clear plan of what I was undertaking. I remember when he came home from work saying something to the effect of "I don't know why you had to wreck a perfectly good bicycle". However, the work continued along. With his guidance and shop experience I was soon motoring my crude homemade minibike up and down the ally behind our house, feeling like I was Easy Rider floating along on a homemade Harley chopper!
Memories of that summer included being chased by dogs while speeding away from them nipping at my heals, getting the stink eye from an elderly neighbor for disturbing his peaceful summer days while I'd whiz pass him on a daily basis. The best memories were meeting up with my mini biker buddies as we rode down the back alleys and through fields nearby.
I was caught twice by our local police after being rounded up and bought home in the back of a paddywagon with my minibike in tow. Both times I was released at the front of my house, while my Mom, who was already standing in the doorway had the look on her face like I just got caught robbing a bank.
Yep, good memories that first minibike summer!
My new minibike quest started with daily searches on Craigslist, looking for a perfect project bike. I finally found this beauty only a few miles from my house and rushed over to check it out.

Although I found it in good condition structurally, this old Manco mfg minibike had seen better times. The last owner, a guy about my age (yeah, it seems there's a few of us out there) gave it the "lipstick on a pig" treatment, meaning he slapped on some new paint, a few chrome pieces, a new spark plug and called it a day. With bigger plans in mind, I didn't need to see it run, or feel the need ride it before handing over the loot. He on the other hand, felt the urge to show me what it "could do" as he rode a quick lap up and down his street. Before I knew it the minibike was in the back of my pickup truck as we headed back to Shady Acres for its make over.
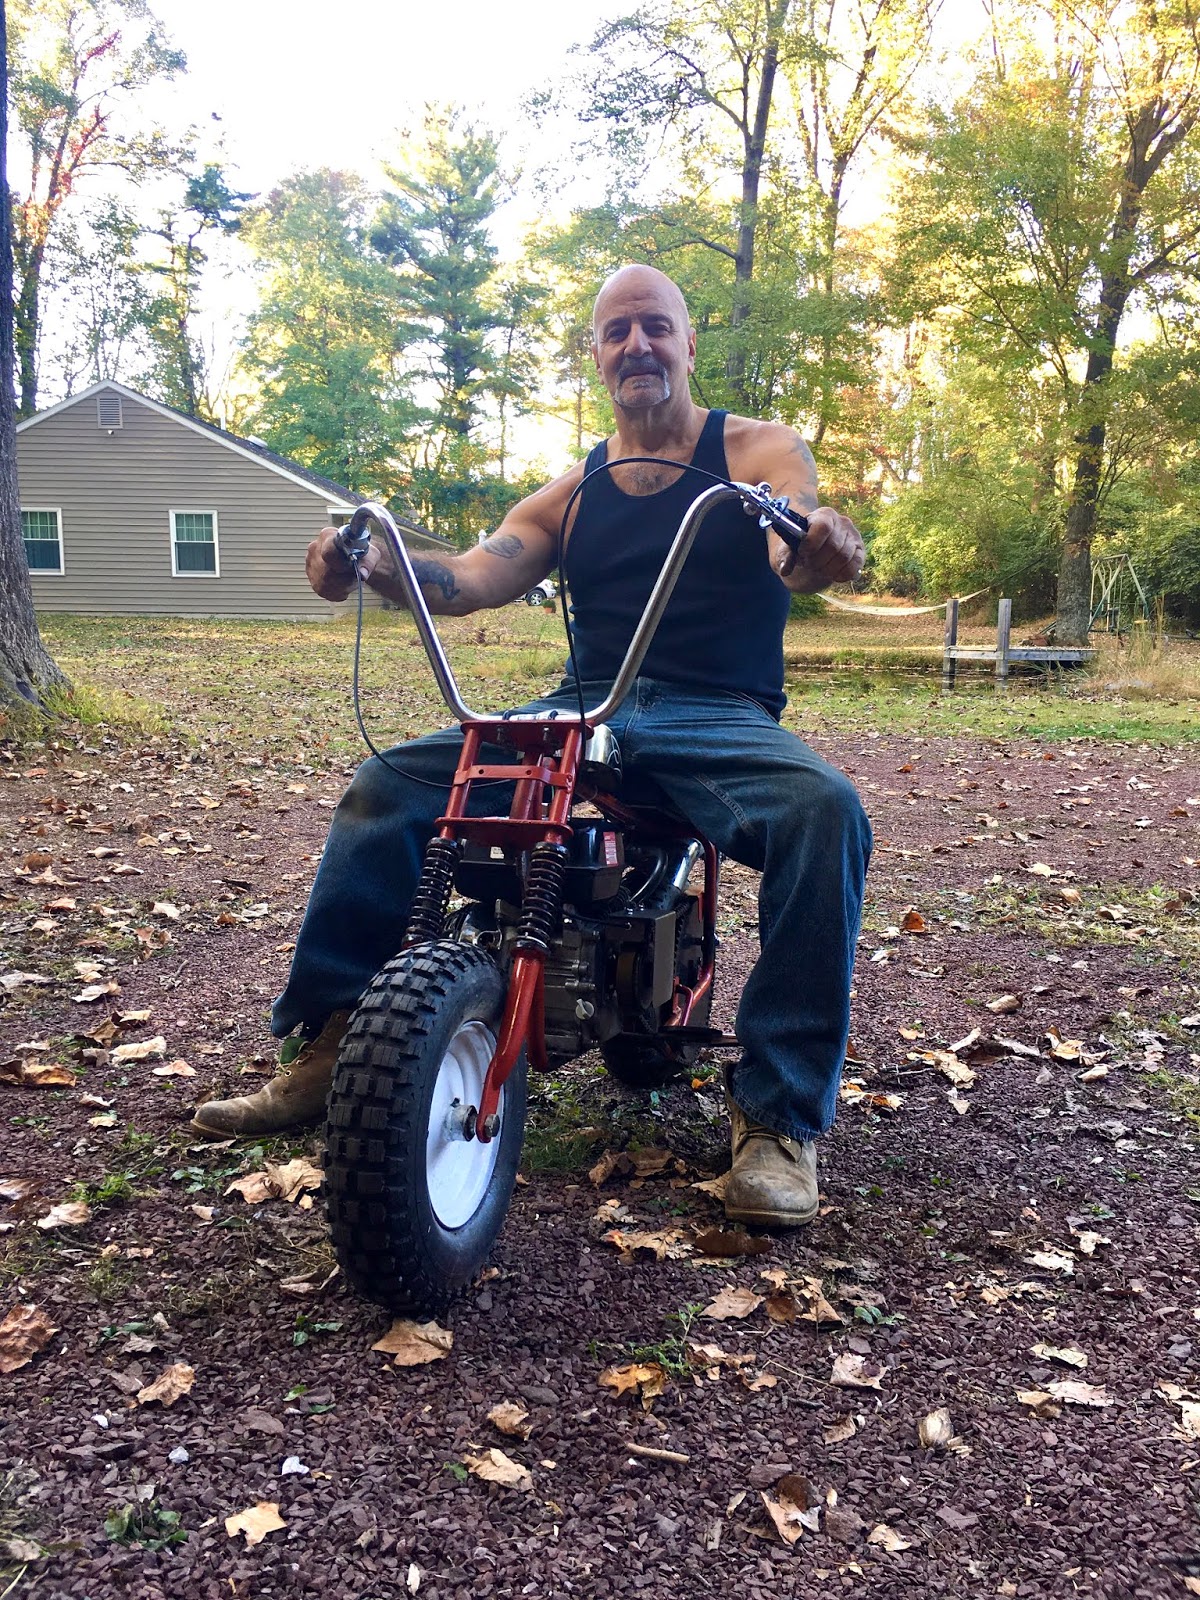
A few weeks later it was transformed into this "old school" street cruiser shown below...

Nothing but tons of fun during the whole project! Here's how it went down.... first thing was to strip the entire bike down and reinforce the welding to accept a heavier new engine, twice the size as the original engine.

The next step was to re-design the trail bike frame by cutting off the rear shocks resulting in a old school rigid style street frame. The rear fender was fabricated from an old Harley chopper, while the original plastic gas tank was ditched in place of this old 1950's Panhead speedometer which was fitted into its place.
The 'ape hanger' handlebars were supplied from a trashed picked 1960's Sears Stingray bike, and the sissy bar was made from 1/2" round bar steel bought from Home Depot. The rear brake pedal was robbed from an unused Panhead foot clutch pedal that I had sitting in a box for nearly half of my adult life.

Things started to shape up after the original 3 hp. engine was ditched for a newer 6 hp. Honda engine which was stuffed into its place. All the new components were now carefully fitted which meant it was ready for a quick road test to confirm function and safe operation. The next step was to disassemble the whole bike for paint preparation.
Blue metal flake paint fit the bill for this old school ride. It was finished off with a few coats of spray bomb clear.


Assembly was quick and sweet.

I was all finished except for one last detail that still needed to be added, a little signature piece. After all, it's going to be my grandson's someday....


